Installing TimelinePlus
TimelinePlus can be installed directly from the Salesforce AppExchange at this address:
https://appexchange.salesforce.com/appxListingDetail?listingId=a0N3u00000Ptw9dEAB
You can install TimelinePlus through the AppExchange in the usual way - full instructions can be found on this page in the Salesforce documentation:
https://developer.salesforce.com/docs/atlas.en-us.appExchangeInstallGuide.meta/appExchangeInstallGuide/appexchange_install_installation.htm
Installation Options
Once you've started the installation process you'll arrive at the installation page (some details may differ slightly depending on which version you're installing):
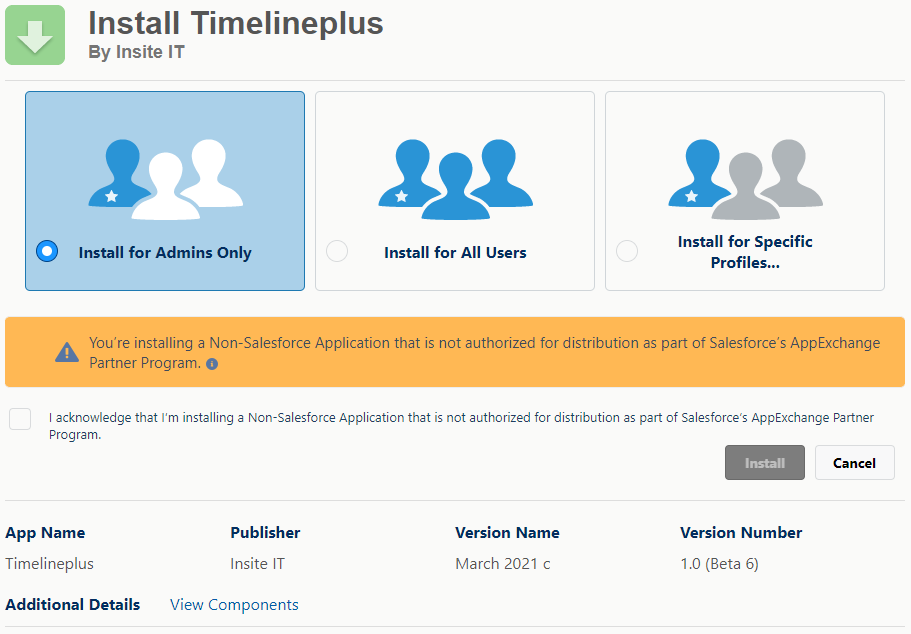
Install for Admins Only
Select this option if you want to restrict who can use TimelinePlus. Once installed only system administrators will be able to use the component, although we can easily extend the functionality to other users:
Timeline Plus Permission Set
The package creates a permission set called TimelinePlus User. Simply add any users you would like to be able able to use the component to this permission set.
Manually update user profiles
Any users of TimelinePlus need access permisisons for the Apex Class called TimelineController. Instead of using the permission set you can grant permission using profiles under the 'Enabled Apex Class Access' section. Once added the TimelinePlus will work for users assigned to this profile.
Install for All Users
Choose this option to quickly and easily grant permission to all Salesforce users in your org.